iTerm2
iTerm2 是一个开源的终端模拟器,用于macOS和Linux操作系统。它是iTerm的继承者,iTerm是一个早期的终端模拟器。iTerm2 提供了许多增强功能,包括:
安装
官网下载:iTerm2
美化改造
配置
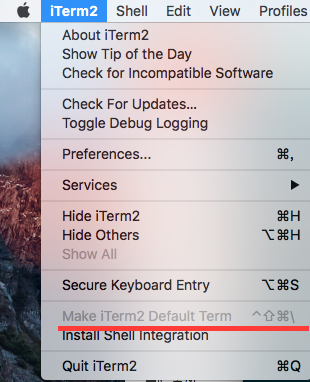
将iTerm2设置为默认终端:(菜单栏)iTerm2 -> Make iTerm2 Default Term
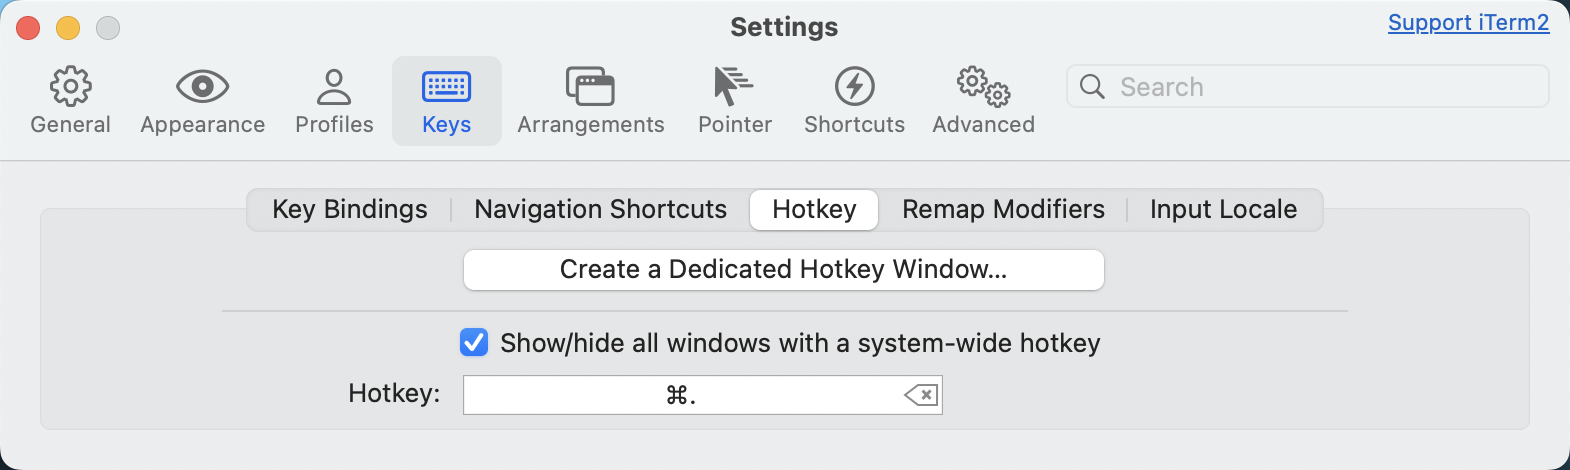
然后打开偏好设置preference,选中Keys,勾选Hotkey下的Show/hide iTerm2 with a system-wide hotkey,将热键设置为command+. ,这样你就可以通过command+. 全局热键来打开或关闭iTerm2窗口,非常方便。
安装oh-my-zsh
https://github.com/robbyrussell/oh-my-zsh
配色方案
推荐采用 solarized 官网 下载后解压,打开 iTerm2 下的偏好设置 preference ,点开 profiles 下的colors 选项,点击右下角的 Color Presets 选项,选择import ,导入解压到的 solarized 文件下的Solarized Dark.itermcolors。
修改主题
用vim打开隐藏文件 .zshrc ,修改主题为 agnoster:
ZSH_THEME="agnoster"配置字体
1.使用 Meslo 字体,点开连接点击 view raw 下载字体。
2.安装字体到系统字体册。
3.应用字体到iTerm2下,我自己喜欢将字号设置为14px,看着舒服(iTerm -> Preferences -> Profiles -> Text -> Change Font)。
4.重新打开iTerm2窗口,这时便可以看到效果了。
自动提示命令
当我们输入命令时,终端会自动提示你接下来可能要输入的命令,这时按 → 便可输出这些命令,非常方便。
设置如下:
1.克隆仓库到本地 ~/.oh-my-zsh/custom/plugins 路径下
git clone https://github.com/zsh-users/zsh-autosuggestions ${ZSH_CUSTOM:-~/.oh-my-zsh/custom}/plugins/zsh-autosuggestions2.用 vim 打开 .zshrc 文件,找到插件设置命令,默认是 plugins=(git) ,我们把它修改为
plugins=(zsh-autosuggestions git)3.重新打开终端窗口。
修改字体亮度 进入到 ~/.oh-my-zsh/custom/plugins/zsh-autosuggestions 路径下
cd ~/.oh-my-zsh/custom/plugins/zsh-autosuggestions用 vim 打开 zsh-autosuggestions.zsh 文件,修改 ZSH_AUTOSUGGEST_HIGHLIGHT_STYLE='fg=10'
语法高亮
1.使用homebrew安装 zsh-syntax-highlighting 插件。
brew install zsh-syntax-highlighting2.配置.zshrc文件,插入一行。
source /opt/homebrew/share/zsh-syntax-highlighting/zsh-syntax-highlighting.zsh3.输入命令。
source ~/.zshrc